Step-by-Step: How to Cancel Subscriptions on iPhone, Android & Roku. Ever signed up for a free trial and forgotten to cancel before the charges hit? Or maybe that app subscription isn’t giving you the value you hoped for. Whatever the reason, canceling a subscription should be quick and painless. The tricky part is that the process isn’t the same everywhere — canceling on an iPhone is different from Android, and Roku has its own steps.
We’ve broken it down in a step-by-step guide so you don’t get lost in the settings jungle. Bookmark this one — trust me, you’ll need it again.
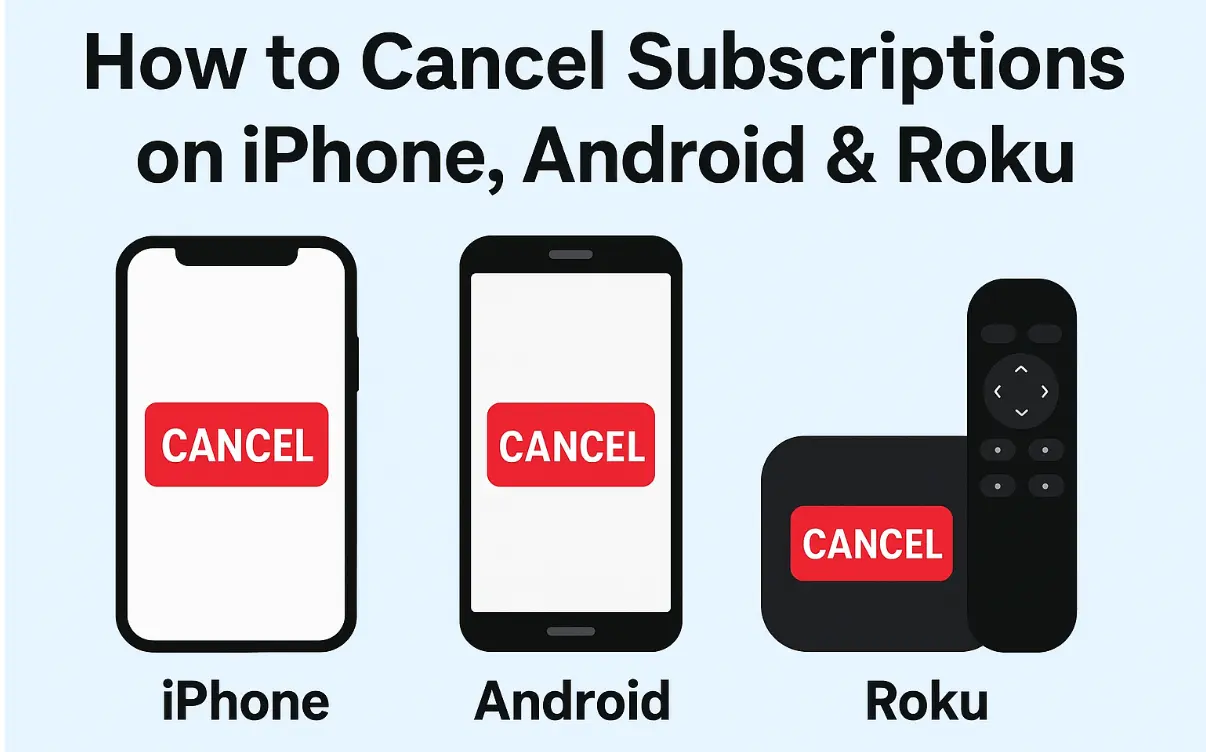
How to Cancel Subscriptions on iPhone
Apple ties all subscriptions (whether it’s Netflix, Spotify, or a random fitness app you tried once) to your Apple ID. Here’s how you can manage them:
- Open the Settings app on your iPhone.
- Tap your name/Apple ID profile at the top.
- Select Subscriptions.
- You’ll see a list of active and expired subscriptions.
- Choose the subscription you want to cancel.
- Tap Cancel Subscription (or “Cancel Free Trial” if that’s what you’re on).
- Confirm your cancellation.
Once canceled, you’ll still have access until the end of the current billing cycle. Apple doesn’t do partial refunds, so keep that in mind.
How to Cancel Subscriptions on Android
If you signed up through the Google Play Store, canceling is straightforward. If you subscribed directly via an app’s website, you’ll need to cancel through that provider. But let’s cover the Play Store method first:
- Open the Google Play Store app.
- Tap your profile icon (top-right corner).
- Go to Payments & Subscriptions → Subscriptions.
- Select the subscription you want to cancel.
- Tap Cancel Subscription.
- Follow the prompts to confirm.
Like Apple, Google lets you keep the benefits until the end of the billing period.
How to Cancel Subscriptions on Roku
Roku has a neat trick: if you subscribed to a channel directly through your Roku device, you’ll need to cancel it on Roku itself (not on Netflix or Hulu’s website). Here’s how:
Option 1: Cancel via Roku Device
- Press the Home button on your Roku remote.
- Highlight the channel you want to cancel.
- Press the Star (*) button on your remote.
- Select Manage subscription.
- Choose Cancel subscription and confirm.
Option 2: Cancel via Roku Website
- Visit my.roku.com on a browser.
- Sign in with your Roku account.
- Go to Manage your subscriptions.
- Click Unsubscribe on the channel you want to cancel.
Subscriptions billed through Roku also stay active until the end of your billing cycle.
Pro Tips to Manage Subscriptions Smarter
- Set calendar reminders for free trial end dates.
- Use budgeting apps like Truebill (Rocket Money) or Mint to track recurring payments.
- If you can’t find the cancel button, check whether you subscribed directly via the company’s website — not through Apple, Google, or Roku.
Subscriptions are sneaky — they love to stick around long after you’ve forgotten about them. Whether you’re on iPhone, Android, or Roku, following these simple steps will help you regain control of your money. Bookmark this guide so the next time you want to cut ties with a subscription, you won’t waste time searching.
← Google Search Status Dashboard & August 2025 Spam Update: What You Need to Know


Leave a Reply